Creating Simple Archways in Call of Duty 2
In Call of Duty 2, the simplest way to create an archway is by using a patch mesh. This guide provides a straightforward approach to building an archway, along with tips to help mappers refine their technique.
Building a Basic Arch
To begin, create a brush that will serve as the foundation for your patch mesh. In the 2D viewport (top view), drag out a new brush to form a rectangular shape.
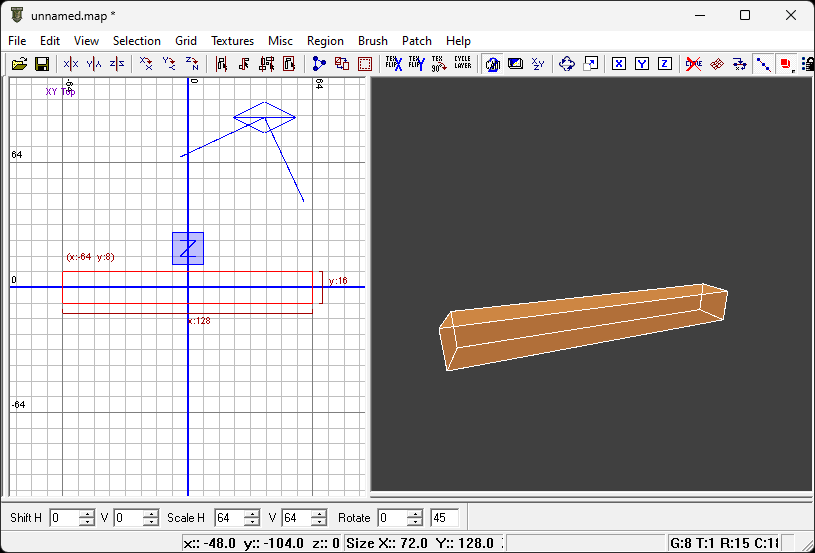
For simplicity, orient the brush as shown in the image above. This layout makes later steps easier, as you can rotate and position the arch as needed after creation.
Note: When creating a patch mesh, its orientation is determined by the axis viewed in the 2D viewport. For this process, the top view is recommended.
Next, convert the brush into a patch mesh. In the top toolbar, navigate to Patch > Simple Patch Mesh. A dialog box will appear, as shown below.
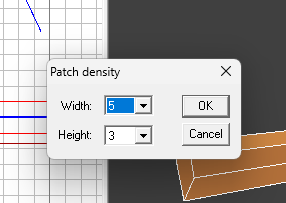
Set the width to 5 and keep the height at 3. This configuration is crucial because the cap operation (described later) only affects the width.
After clicking OK, the brush will transform into a patch mesh, as shown below.
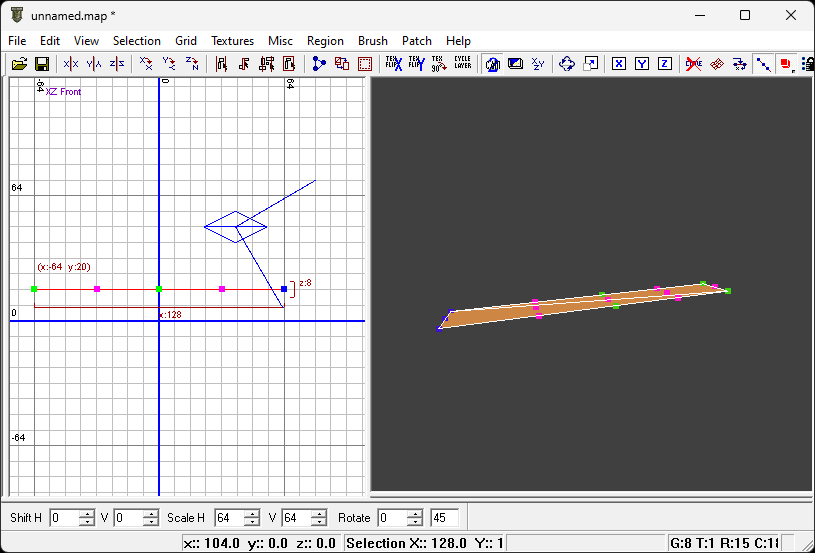
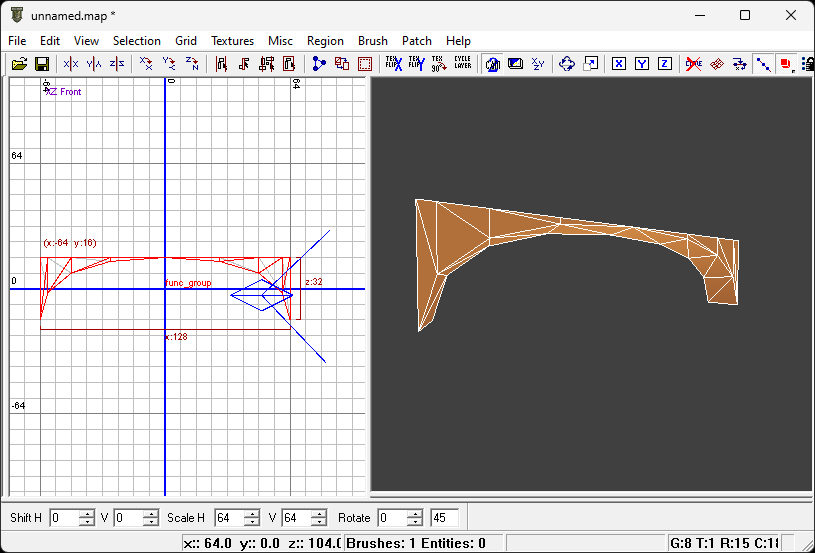
With the 2D viewport active, press V to display the patch mesh vertices (shown in green and pink in the image above). In the front view (XZ front), select the vertices by dragging your cursor over them. Hold Alt and move the vertices to shape the arch, as shown below.
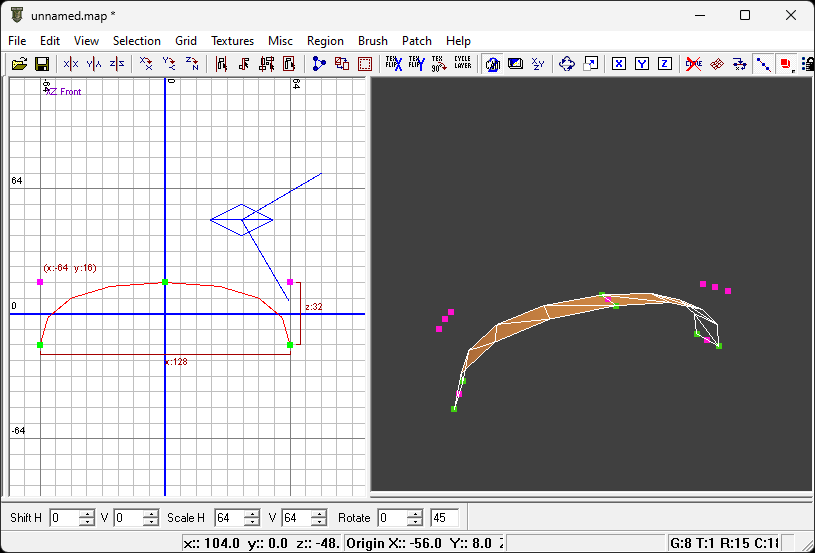
If the patch appears inverted, press Ctrl+I to correct its orientation.
To complete the arch, cap the patch mesh. Press Shift+C or navigate to Patch > Cap in the toolbar. In the dialog box, select Inverted Endcap.
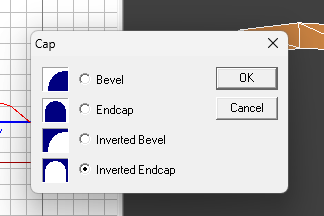
After clicking OK, the patch mesh will gain two additional parts, forming a complete arch, as shown below.
Increasing Patch Complexity
While not documented in the key map, you can use keyboard shortcuts to adjust the complexity of a patch mesh without adding extra vertices, which is a more efficient approach.
With the patch mesh selected, press Shift+] to increase complexity or Shift+[ to decrease it. This adjusts the quality of the patch, making it smoother or simpler as needed.

You can repeat these shortcuts multiple times to achieve the desired level of detail.
Texturing the Arch
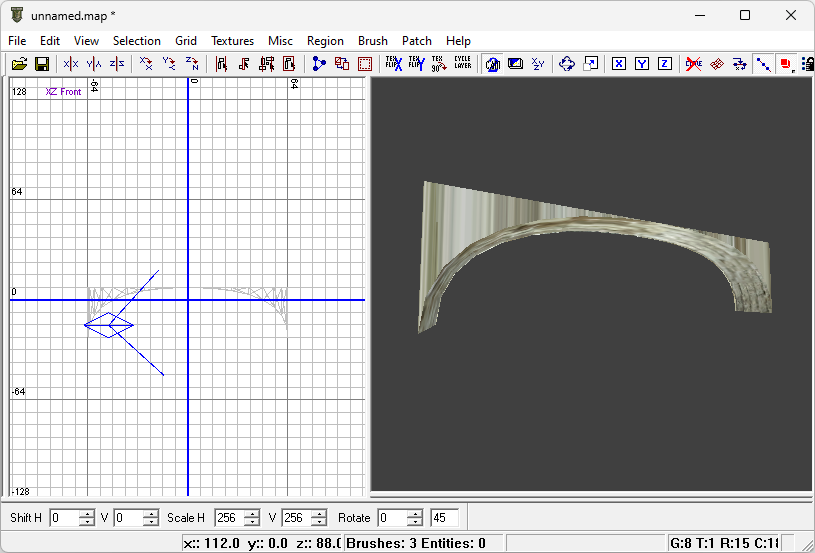
Apply textures to the patch mesh as you would with any other surface. However, textures may initially appear misaligned, as shown below.
To correct this, use the Surface Inspector (press S) for manual adjustments. Alternatively, press Ctrl+Shift+N multiple times to cycle through texture alignment options until the texture fits correctly.
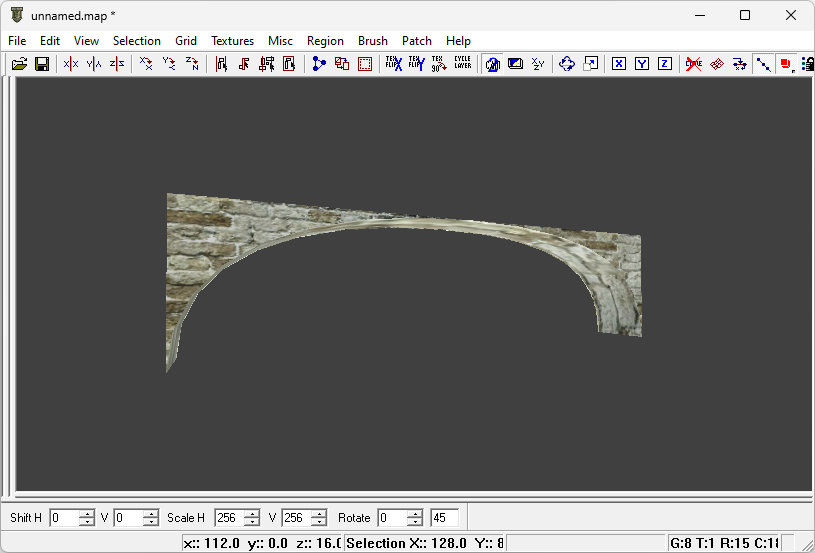
With these steps, your archway should be complete and properly textured, ready for use in your Call of Duty 2 map.
Quick Reference: Keyboard Shortcuts
- V: Show vertices in the 2D viewport.
- Alt + drag: Move selected vertices.
- Ctrl+I: Invert patch orientation.
- Shift+C: Cap the patch mesh.
- Shift+]: Increase patch complexity.
- Shift+[: Decrease patch complexity.
- S: Open the Surface Inspector for texture adjustments.
- Ctrl+Shift+N: Cycle through texture alignments.